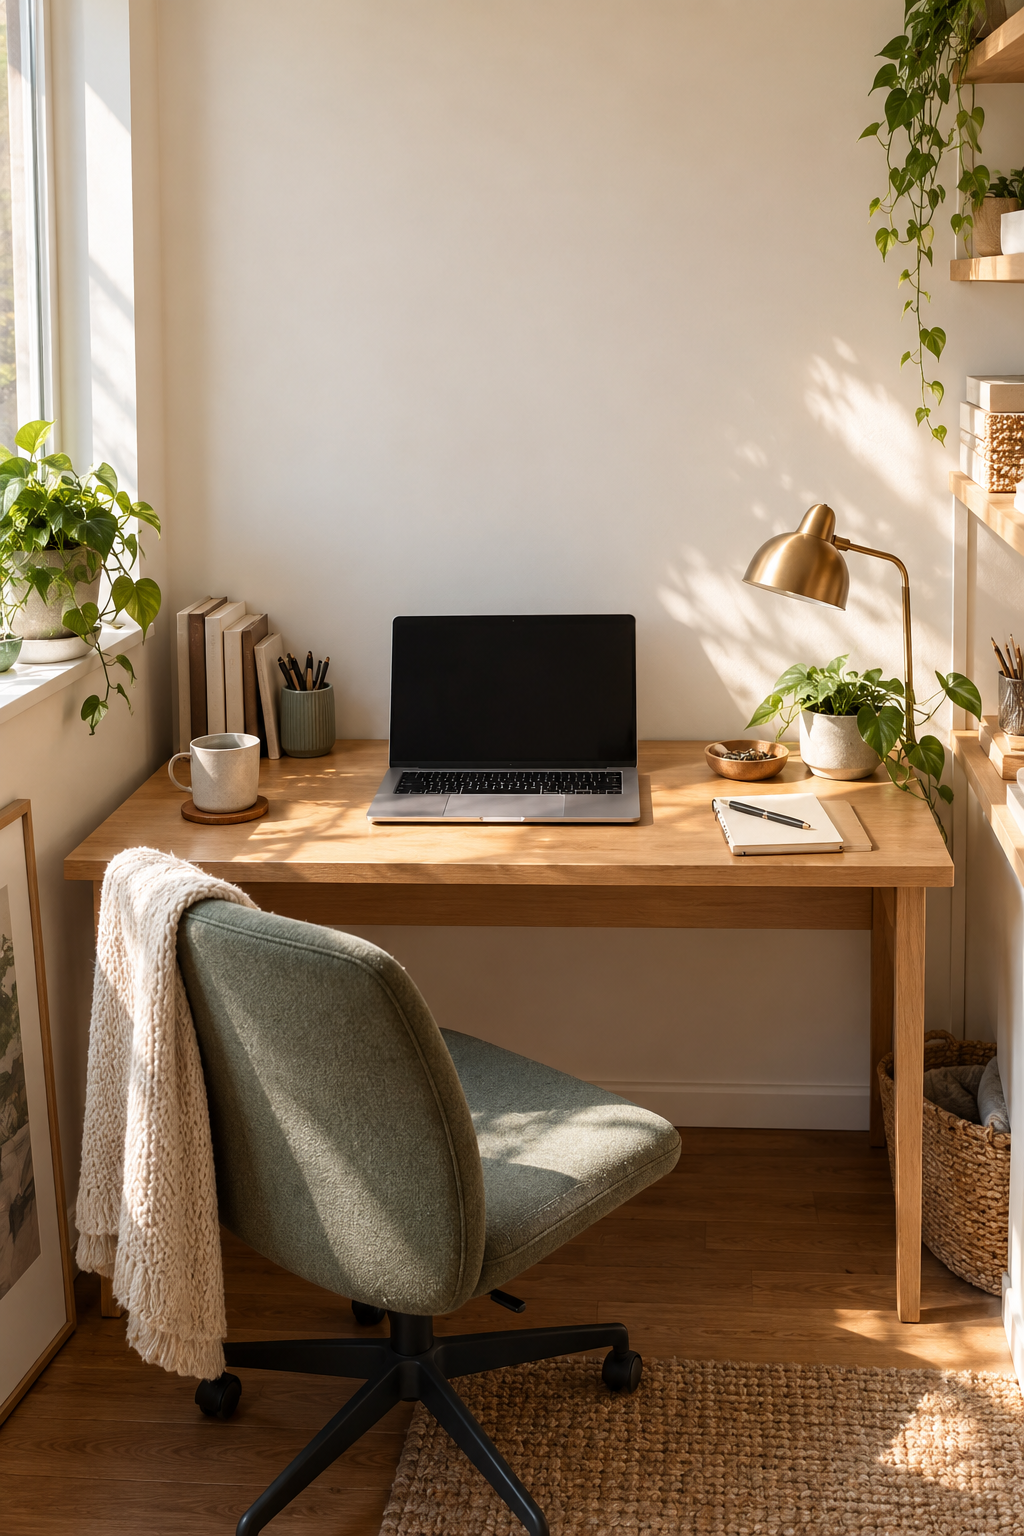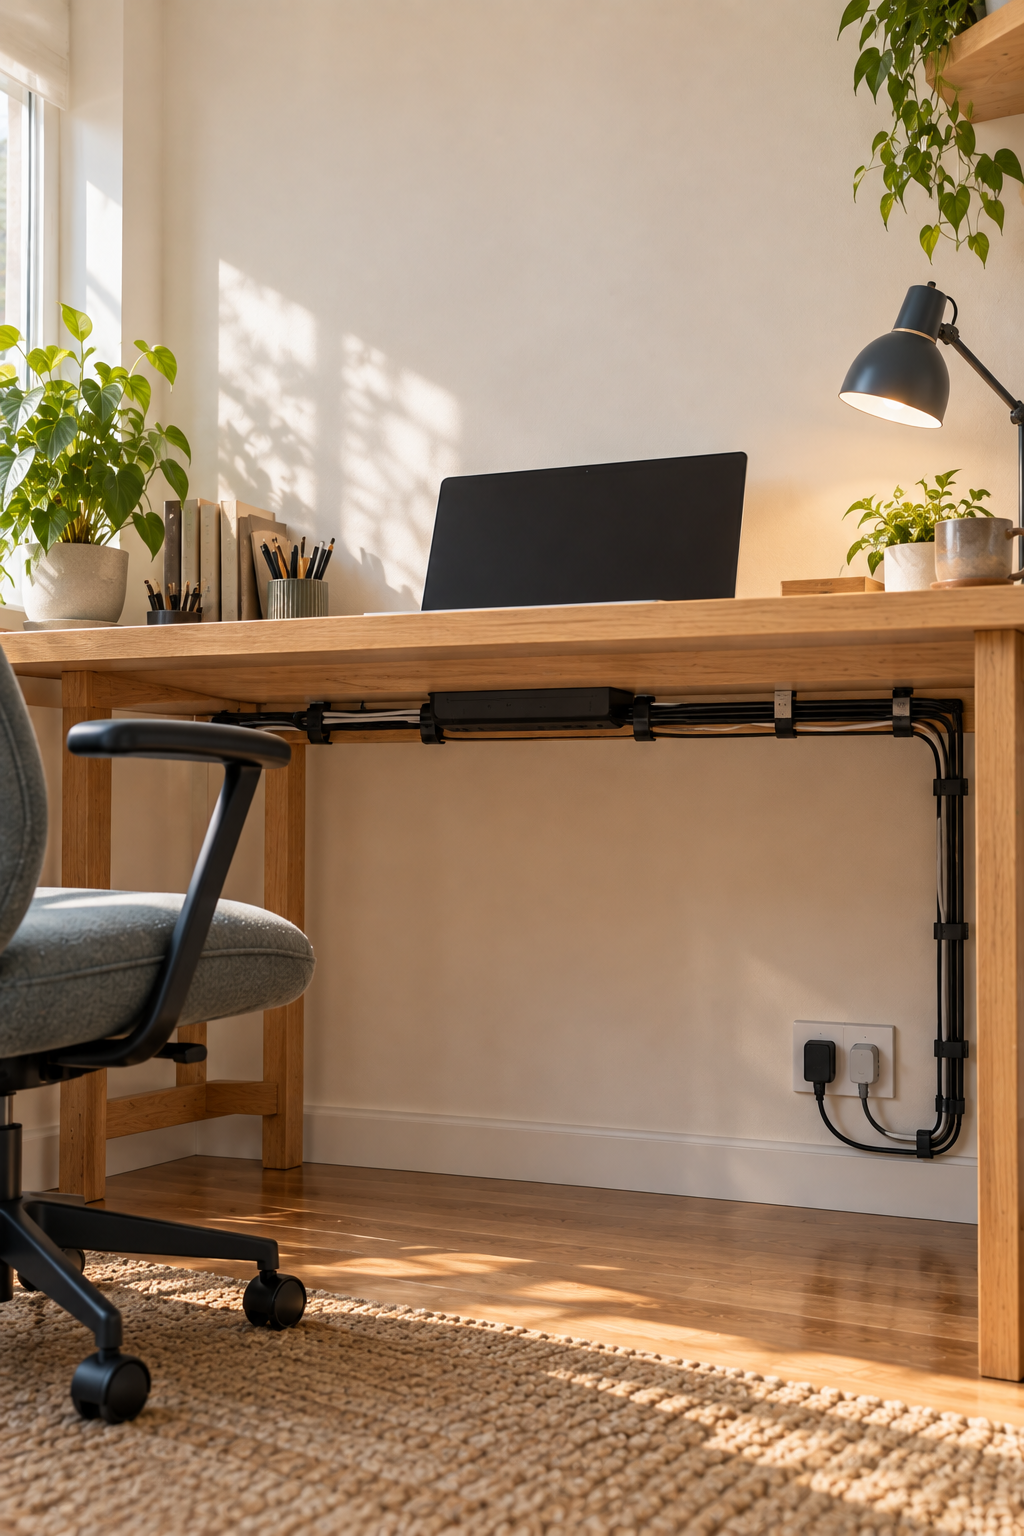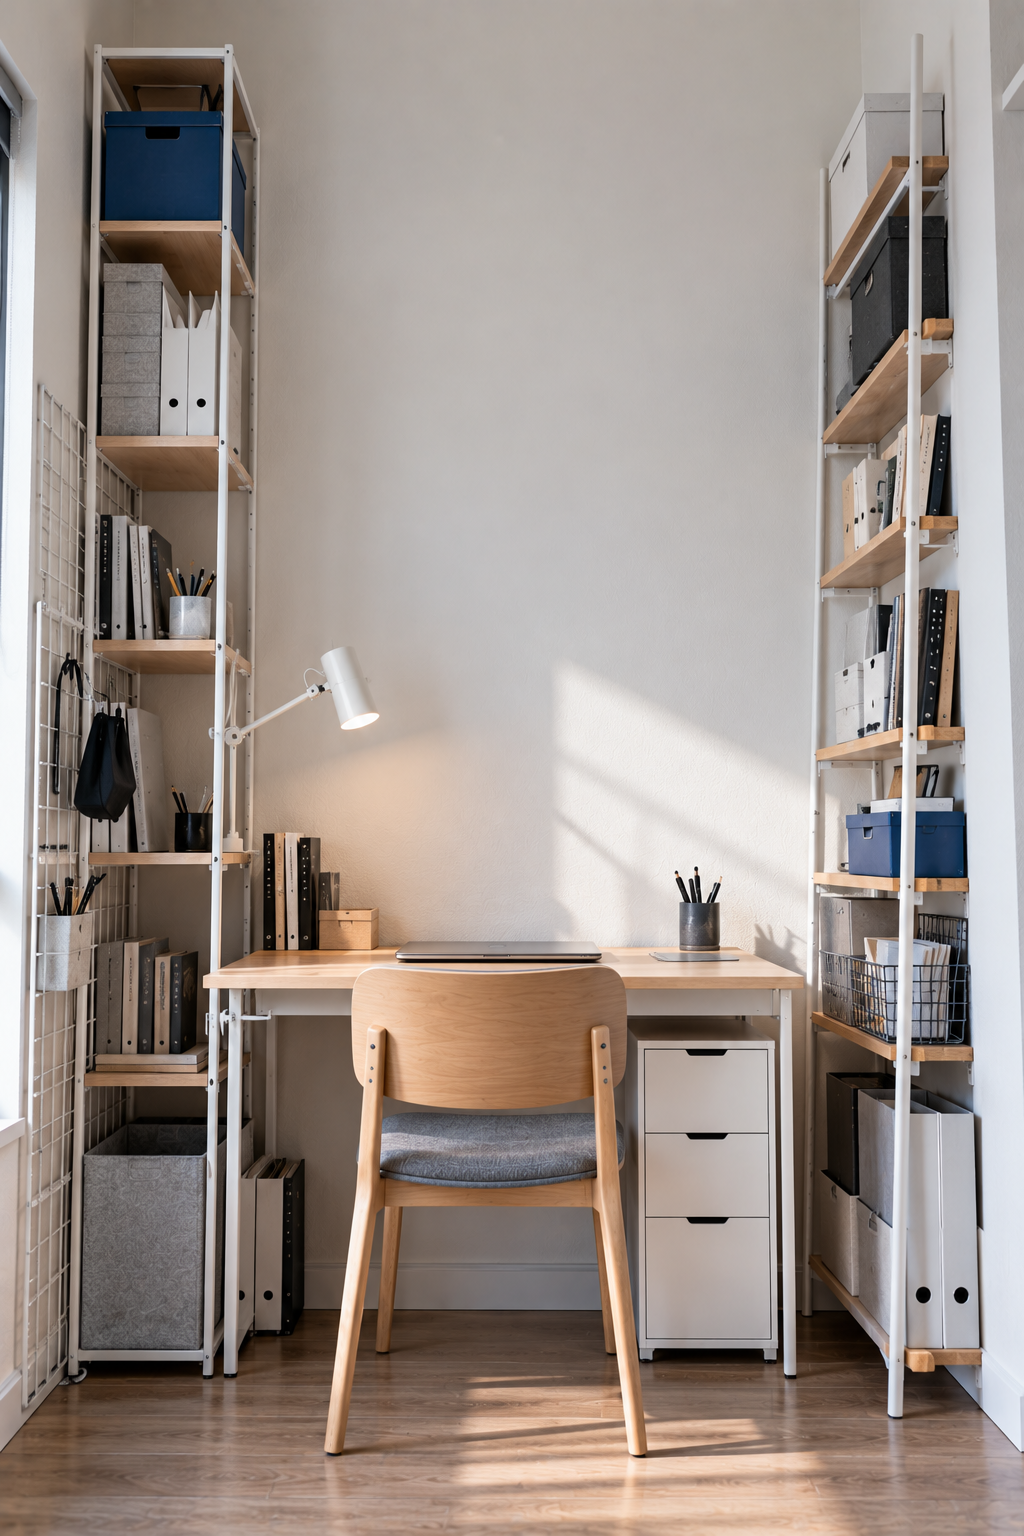
Vertical storage can return valuable floor and desk space, but height alone is not a plan. The best arrangement puts light, frequent items in easy reach; heavier or less attractive inventory lower down; and open breathing room around the objects you want to find quickly.
- Keep frequently used items between seated and standing shoulder height.
- Store heavy objects low and follow mounting or anti-tip guidance.
- Mix open and closed storage to control visual noise.
Divide the wall into reach bands
The middle band is for lightweight daily items: a calendar, headphones, current reference, or a small tool. The upper band suits light, occasional objects. The lower band can hold denser supplies in stable furniture. Avoid making every inch of wall work; negative space helps labels and tools remain legible.
Put weight where it is stable
Books, paper, equipment, and full containers become heavy quickly. Keep them low or use properly rated shelves installed for the wall type. Follow product instructions and use anti-tip hardware where required. Decorative balance is never a reason to place a hazardous load overhead.
Use shallow depth near the desk
Deep shelves above a seated position can feel intrusive and increase the chance of bumping objects. Shallow storage suits small tools and references while preserving headroom. Test the depth with a cardboard template before committing to furniture or mounting.
Combine open and closed zones
Open storage is fast for a few attractive or frequently used things. Closed boxes or cabinets are better for spare cables, refills, mixed packaging, and paperwork. Label the hidden categories plainly so closed storage does not become forgotten storage.
Protect the work light
Tall storage can block daylight or cast a shadow across the desk. Check the room at the hours you normally work. Keep shelves from crowding a window, and place task lighting so your hand and storage do not shade the main work area.
Create a maintenance limit
Vertical systems collect dust and expired inventory. Leave enough room to remove containers without shifting everything else. Review the highest and lowest zones every few months; those are where forgotten items usually accumulate.
Build upward slowly
Start with one useful level and observe what still lacks a home. Adding the entire system at once can produce storage for imagined needs. Let real use decide whether the next layer should be a shelf, hook, pocket, or nothing at all.
Tape paper rectangles on the wall to represent proposed shelves or organizers. Sit, stand, open nearby doors, and check light and reach before buying anything.